Exporters Portal
Exporters Portal Dashboard
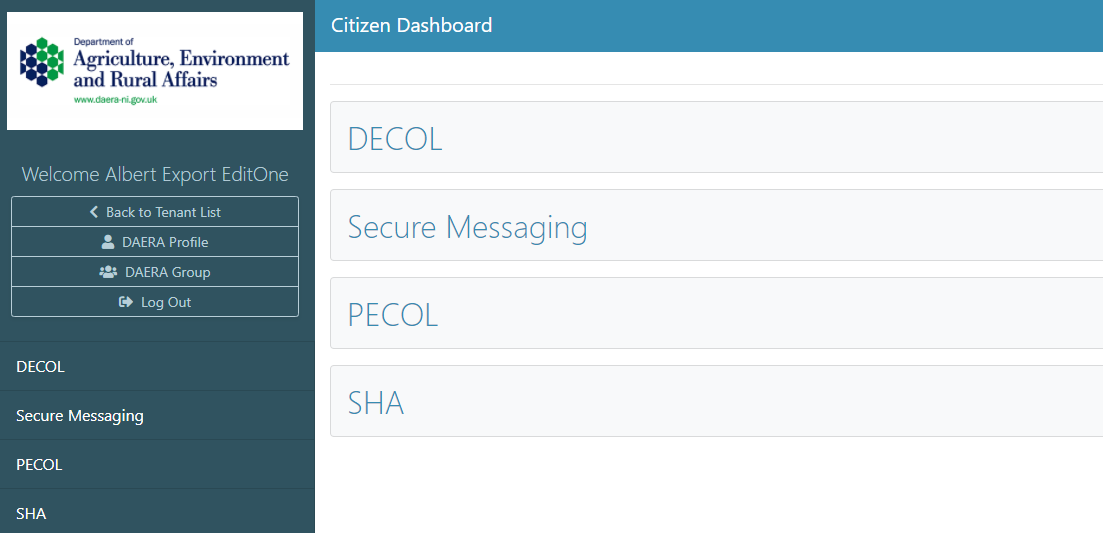
From the citizen dashboard, select the 'SHA' panel or click the 'SHA' button on the left hand navigation bar to enter the SHA application.
Once you have entered the SHA Exporter's Portal the user will be presented with the Message Board screen.
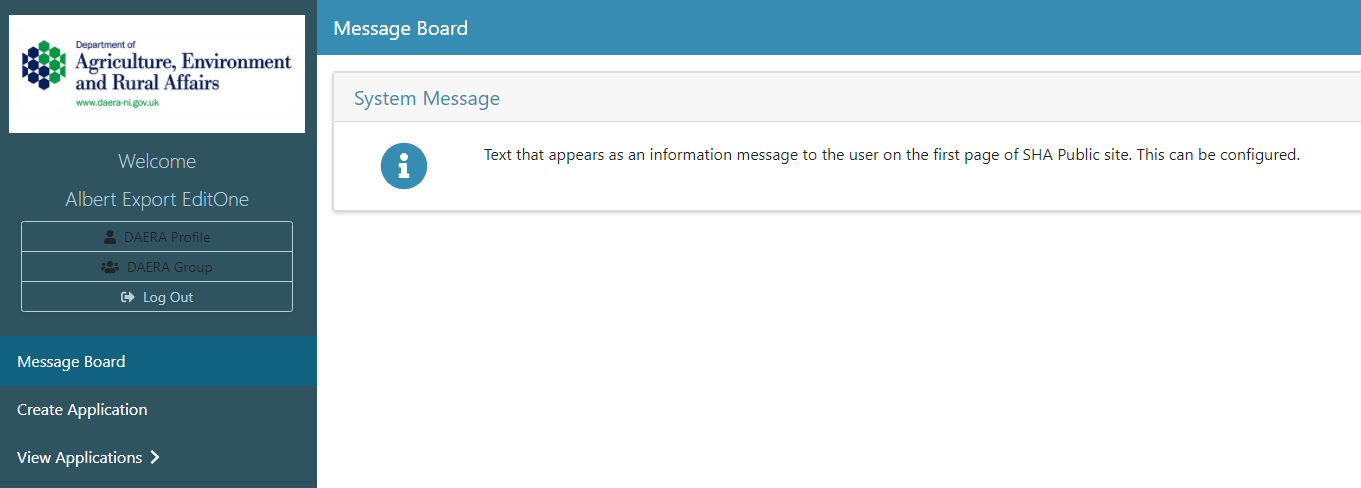
Note
This system message can be configured by DAERA Admin (see Service Administration Documentation - Public Message Display)

Create SHA Application
To submit a Support Attestation application navigate to 'Create Application' on the left hand navigation bar.
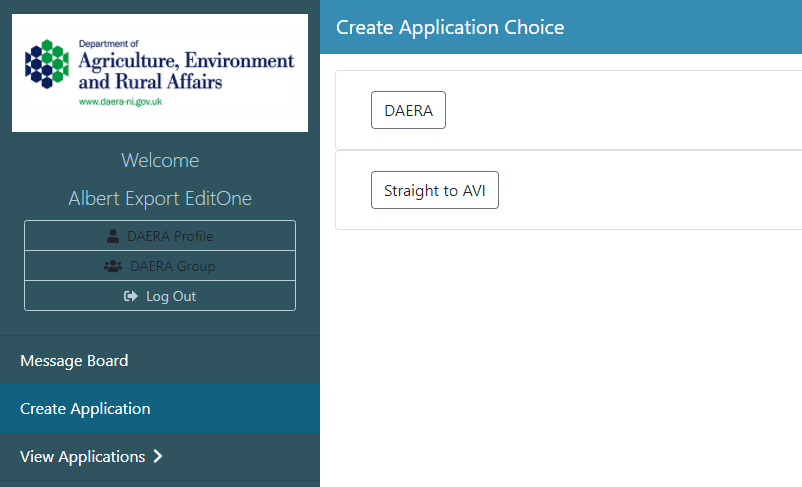
Select the application processing route by clicking the 'DAERA' or 'Straight to AVI' button.
DAERA Processing
Important
From this screen the flow mirrors that of the DAERA processing url.
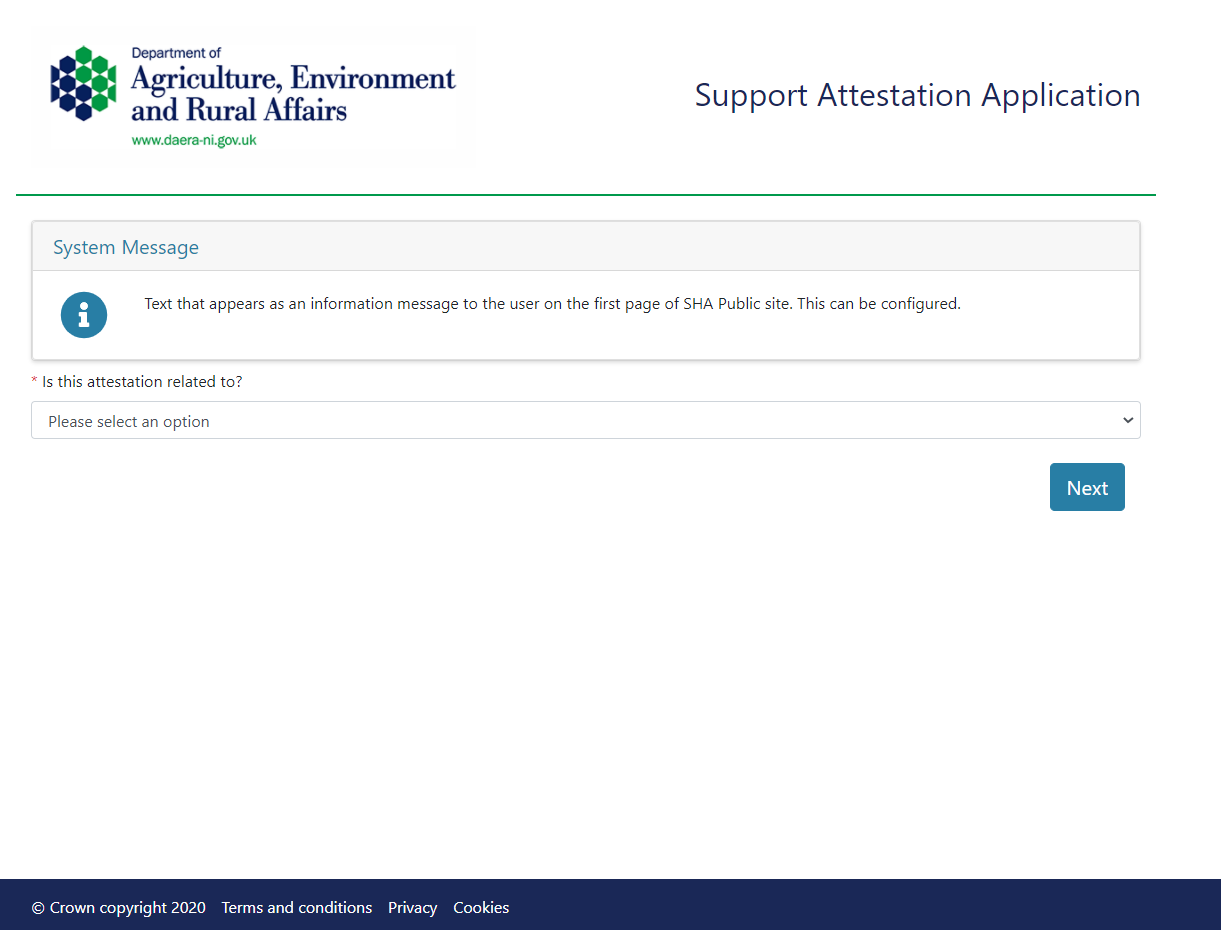
This screen displays a system message from DAERA and asks the user what the attestation is related to, the user can select an option from the dropdown list and click 'Next' to proceed to Step 1.
Note
The related attestations can be configured by DAERA Admin (see the Service Administration Documentation - Attestation Types)

This system message can be configured by DAERA Admin (see Service Administration Documentation - Public Message Display)
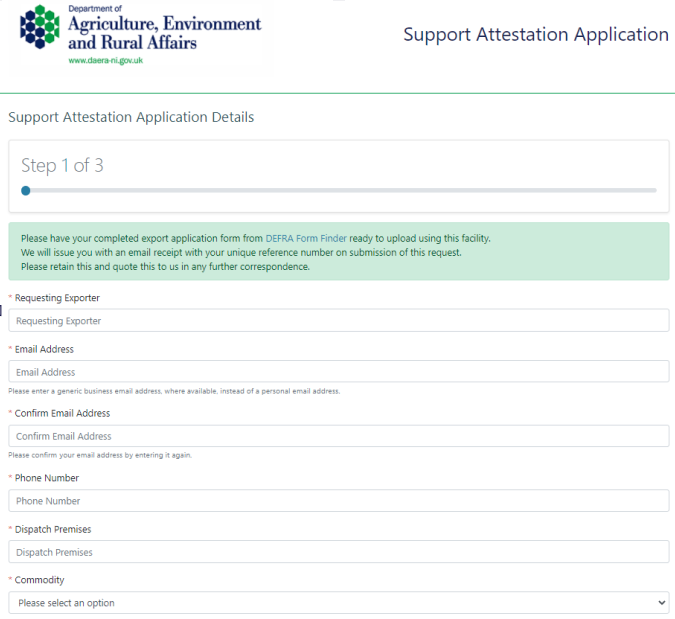
Step 1 of 3: Support Attestation Application Details
On this screen the Support Attestation Application Details will be captured.
The green text box on this screen is configurable.
These details include the following mandatory fields: Requesting Exporter, Email Address, Confirm Email Address, Phone Number, Dispatch Premises, Commodity, Product Details, Destination, Processing Vet, Date of Loading, Time of Loading and Form reference number.
Note
Destination Countries, Commodities and Attestation Types are configurable.
Private Vets are configurable.
These details include the following non-mandatory fields: Exporter Reference and Comments.
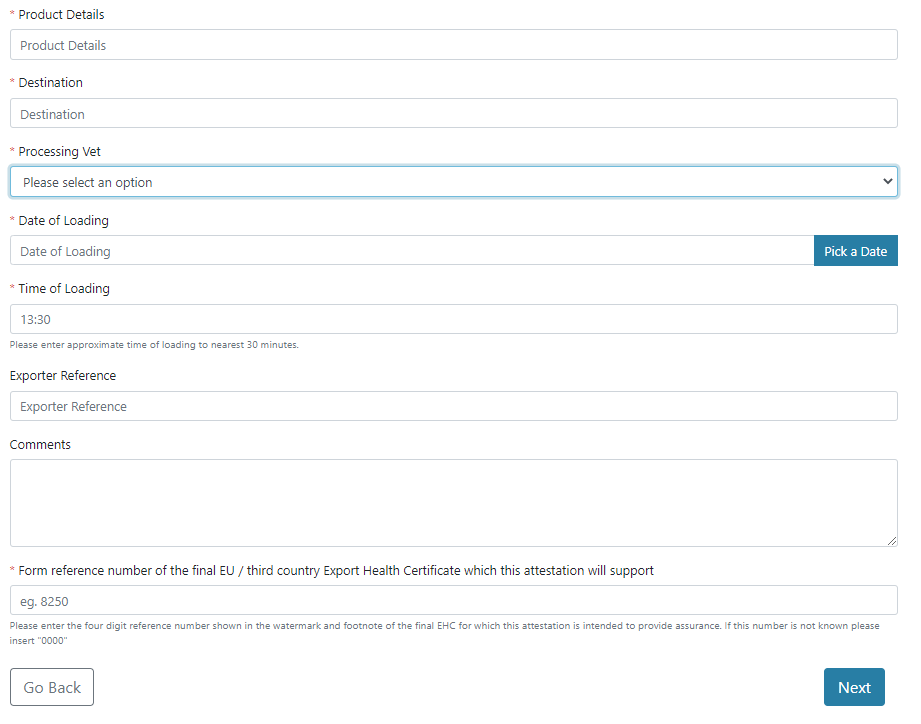
Once all mandatory fields have been entered, user can click 'Next' to proceed to Step 2.
Step 2 of 3: Documents
On this screen documents for the application will be captured.
These include a pdf version of the SHA application and any supporting documentation.
To upload a file, user can click 'Add Files' button.
Important
To successfully upload a SHA PDF Application the document selected using 'Add File' must contain the PDF text field SHAOLN number i.e. SHOALN_0, SHOALN_1 etc. This ensures a DAERA issued template is used and the unique number is printed on each page of the document.
If the field is missing, the file will not be uploaded and the following message will be displayed: "This is not a SHA template. Please obtain a SHA from DAERA.".

Uploading a SHA PDF Application is mandatory in order to proceed to Step 3.
Step 3 of 3: Declarations
In order to submit the SHA application the 'I confirm I have read and understood the above statements' checkbox must be selected.
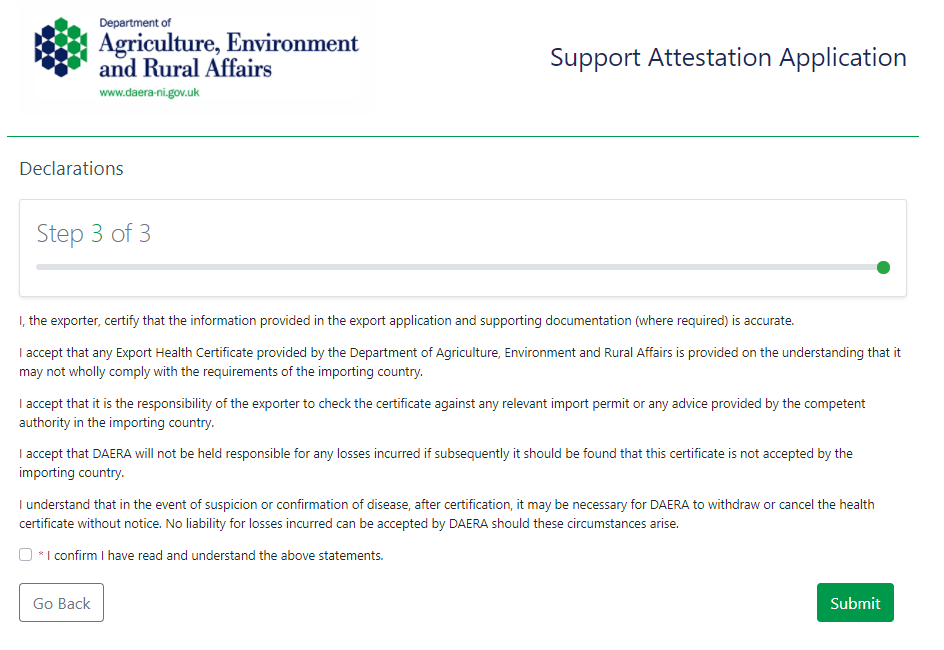
Note
The declaration text is static data configuration.

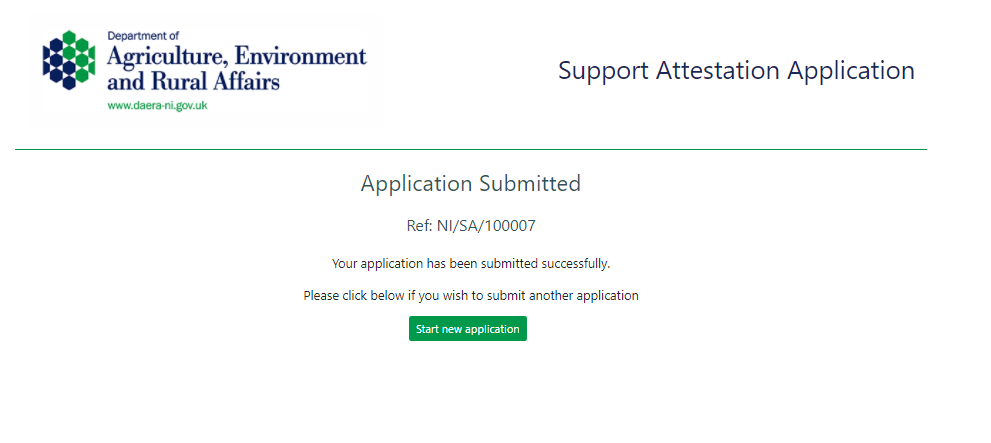
Application Submitted
Once the SHA application has been successfully submitted the user will be presented with the following screen which includes a unique reference ID.
Straight to AVI Processing
Important
From this screen the flow mirrors that of the public straight to vet processing url.
This screen displays a system message from DAERA and asks the user what the attestation is related to, the user can select an option from the dropdown list and click 'Next' to proceed to Step 1.
Note
The related attestations can be configured by DAERA Admin (see the Service Administration Documentation - Attestation Types)
This system message can be configured by DAERA Admin (see Service Administration Documentation - Public Message Display)
Step 1 of 3: Support Attestation Application Details
On this screen the Support Attestation Application Details will be captured.
The green text box on this screen is configurable.
These details include the following mandatory fields: Requesting Exporter, Email Address, Confirm Email Address, Phone Number, Dispatch Premises, Commodity, Product Details, Destination, Processing Vet, Date of Loading, Time of Loading and Form reference number.
Note
Destination Countries, Commodities and Attestation Types are configurable.
Private Vets are configurable.
These details include the following non-mandatory fields: Exporter Reference and Comments.
Once all mandatory fields have been entered, user can click 'Next' to proceed to Step 2.
Step 2 of 3: Documents
On this screen documents for the application will be captured.
These include a pdf version of the SHA application and any supporting documentation.
To upload a file, user can click 'Add Files' button.
Important
To successfully upload a SHA PDF Application the document selected using 'Add File' must contain the PDF text field SHAOLN number i.e. SHOALN_0, SHOALN_1 etc. This ensures a DAERA issued template is used and the unique number is printed on each page of the document.
If the field is missing, the file will not be uploaded and the following message will be displayed: "This is not a SHA template. Please obtain a SHA from DAERA.".
Uploading a SHA PDF Application is mandatory in order to proceed to Step 3.
Step 3 of 3: Declarations
In order to submit the SHA application the 'I confirm I have read and understood the above statements' checkbox must be selected.
Note
The declaration text is static data configuration.
Application Submitted
Once the SHA application has been successfully submitted the user will be presented with the following screen which includes a unique reference ID.
Draft Applications
At any point during the application process, the exporter can use the 'Save Draft' button to save their application and return to it at a later date for submission.

Once a draft has been saved it will be displayed in the draft applications list view. To complete a draft application, navigate to 'View Applications' and select 'Draft Applications.'
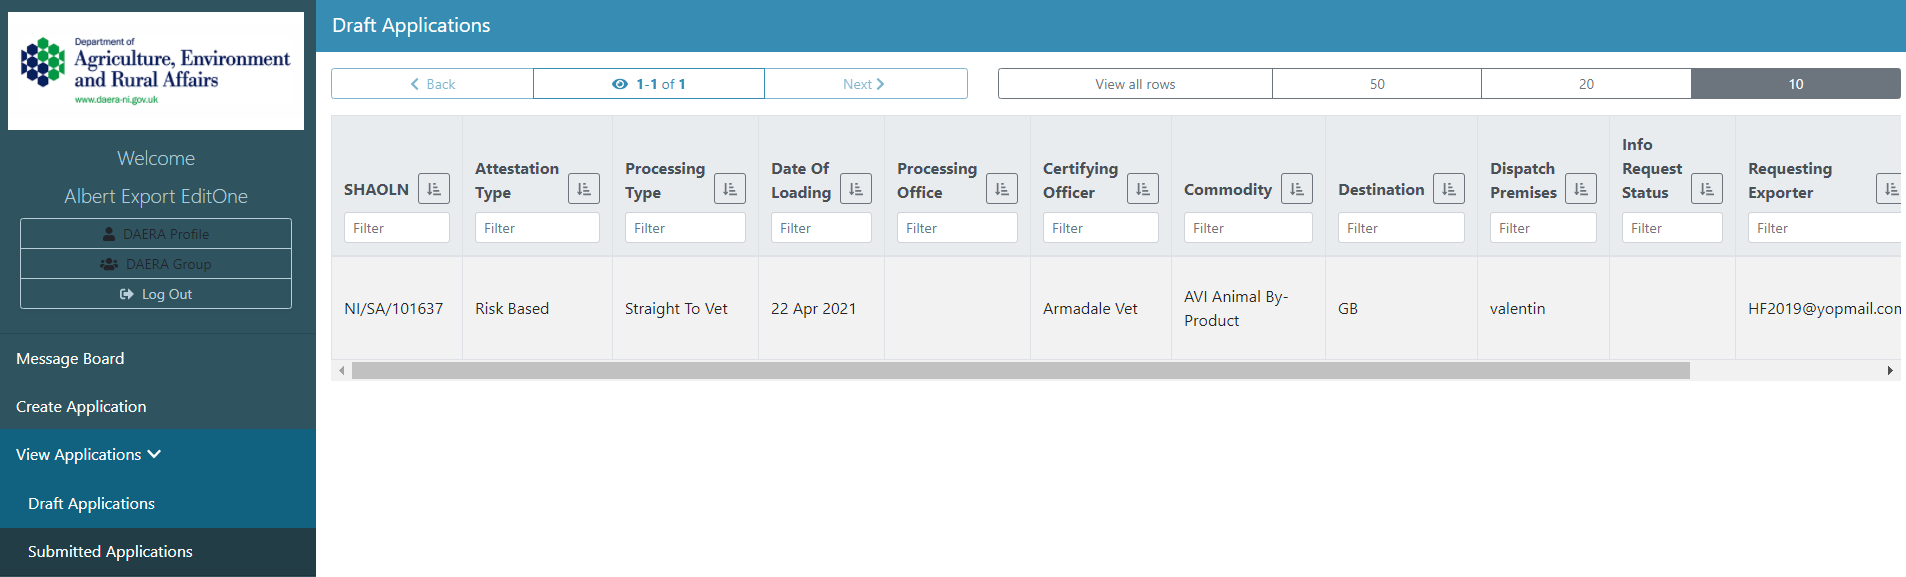
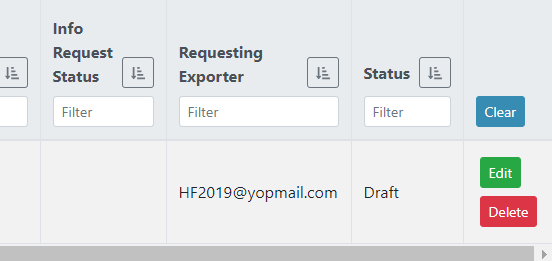
From this list view, exporters can edit and submit draft applications or delete applications using the corresponding buttons on the right hand side of the screen.
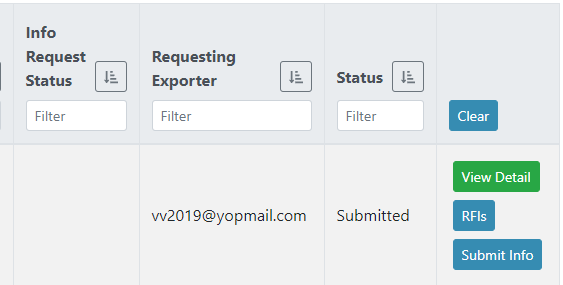
Submitted Applications
Once an application has been submitted it will be displayed in the submitted applications list view. To view a submitted application, navigate to 'View Applications' and select 'Submitted Applications.'

Submitted applications are read only to view an application click 'View Detail.' To submit further information or